
Готовые машинки для lego digital designer
Обновлено: 03.05.2024
Training Robots
This robot was used for training on how to navigate a robot. Move forward x inches. Turn a certain number of degrees. etc. etc.

Download Model
Building Instructions in HTML
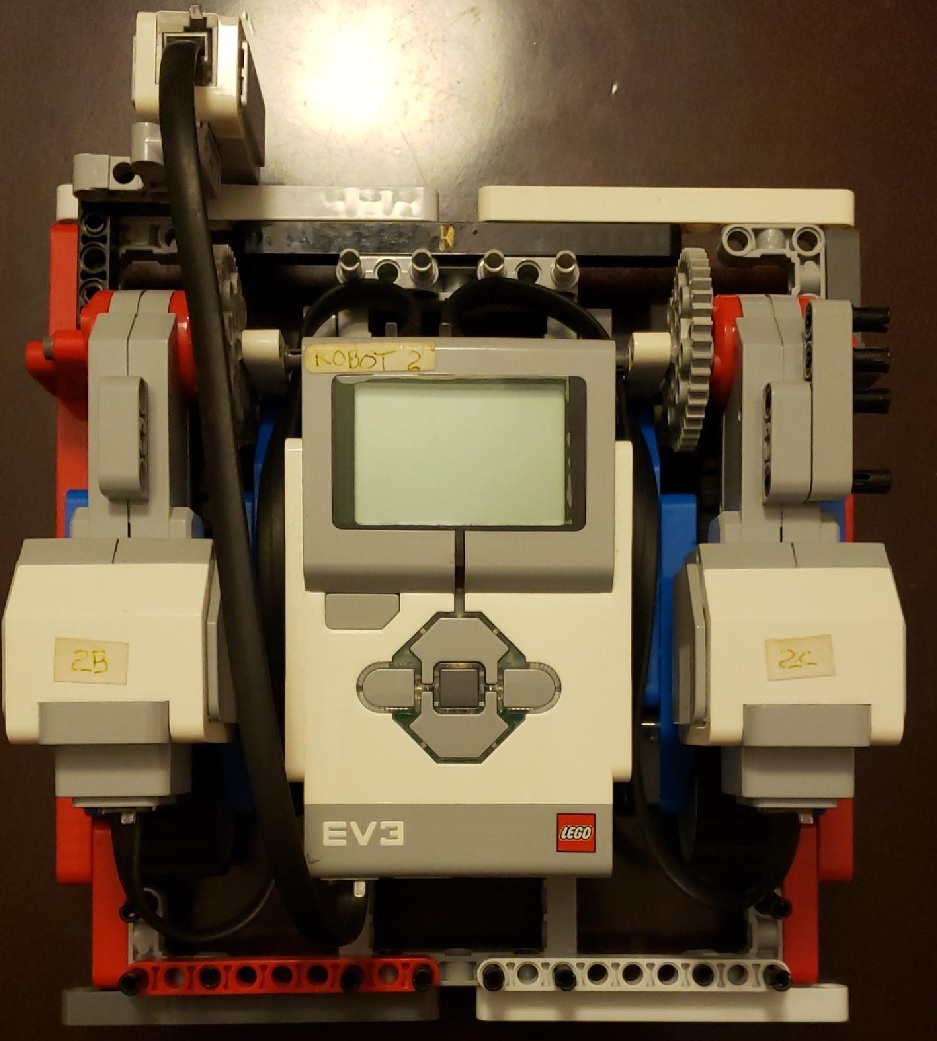
Training Robot 2: Low Nxt Mount 2 (2-wheel drive)
This robot was used for training on how to navigate a robot. Move forward x inches. Turn a certain number of degrees. etc. etc.

Download Model
Building Instructions in HTML
Training Robot 3: Low Nxt Mount 3 (2-wheel drive)
This robot was used for training on how to navigate a robot. Move forward x inches. Turn a certain number of degrees. etc. etc.

Download Model
Building Instructions in HTML
Training Robot 4: High Nxt Mount 1
This robot uses the new LEGO steel bearing ball socket introduced with the EV3 robot. The LDD model does not yet have the ball bearing. So, a small plastic cup has been substituted. You could use a skid method or use a small caster wheel.
This model was contributed by an anonymous user-- Thanks so much!

Download Model (by an anonymous user--Thanks!)
Building Instructions in HTML
Training Robot 5: Angled Nxt Mount 1 (4-wheel drive)
This robot was used for training on how to navigate a robot. Move forward x inches. Turn a certain number of degrees. etc. etc.

Download Model
Building Instructions in HTML
Training Robot 6: Angled Nxt Mount 2 (2-wheel drive with caster wheel)
This robot was used for training on how to navigate a robot. Move forward x inches. Turn a certain number of degrees. etc. etc.

Download Model
Building Instructions in HTML
Training Robot 7: Angled Nxt Mount 3 (4-wheel drive - Tall)
This robot was used for training on how to navigate a robot. Move forward x inches. Turn a certain number of degrees. etc. etc.

Download Model
Building Instructions in HTML
Training Robot 8: ElephantBot
This robot was used for training on how to navigate a robot. Move forward x inches. Turn a certain number of degrees. etc. etc.

Download Model
Building Instructions in HTML
Training Robot 9: TankBot
This robot was used for training on how to navigate a robot. Move forward x inches. Turn a certain number of degrees. etc. etc.

Download Model
Building Instructions in HTML
Training Robot 10: TankBot
This robot was used for training on how to navigate a robot. Move forward x inches. Turn a certain number of degrees. etc. etc.

Download Model
Building Instructions in HTML
It may help to build this model as separate components which are attached later.
| Left Tread | Right Tread |
|---|---|
| Download LDD Model Left Tread (Building Instructions in HTML) | Download LDD Model Right Tread (Building Instructions in HTML) |
Training Robot 11: BoxBot
This robot was used for training on how to navigate a robot. Move forward x inches. Turn a certain number of degrees. etc. etc.

Download Model
Building Instructions in HTML
Training Robot 12: BoxBot
In this model the NXT Brick is embedded fairly deep within the robot. It is too deep to use with a USB cable. If you are using Bluetooth, then there should be no problem with this robot. If you are using a USB cable, can you re-design the robot to accommodate the USB port? What changes would you make?

Download Model
Training Robot 13: BoxBot

Download Model
Building Instructions in HTML
Training Robot 14: SidewaysNxtMount 1
This robot was used for training on how to navigate a robot. Move forward x inches. Turn a certain number of degrees. etc. etc.

Download Model
Building Instructions in HTML
Training Robot 15: SidewaysNxtMount 2
This robot was used for training on how to navigate a robot. Move forward x inches. Turn a certain number of degrees. etc. etc.

Download Model
Training Robot 16: SidewaysNxtMount 3
This robot was used for training on how to navigate a robot. Move forward x inches. Turn a certain number of degrees. etc. etc.

Download Model
Building Instructions in HTML
Training Robot 17: RearNxtMount 1
This robot was used for training on how to navigate a robot. Move forward x inches. Turn a certain number of degrees. etc. etc.

Download Model
Building Instructions in HTML
Training Robot 18: CompactBot
This robot was used for training on how to navigate a robot. Move forward x inches. Turn a certain number of degrees. etc. etc.
The bar shown at the top serves as a nice place to wrap long wires around to keep them organized and compact.
Updated design with good suggestions thanks to an anonymous user!

Download Model (updated by anonymous user--Thanks!)
Building Instructions in HTML

Download Model (updated by anonymous user--Thanks!)
Building Instructions in HTML

Download Model
Building Instructions in HTML
Training Robot 19: DinoBot
This robot was used for training on how to navigate a robot. Move forward x inches. Turn a certain number of degrees. etc. etc.

Download Model
Building Instructions in HTML
Training Robot 20: Compact Bot
This robot was used for training on how to navigate a robot. Move forward x inches. Turn a certain number of degrees. etc. etc.

Download Model
Building Instructions in HTML
Training Robot 21: Compact Bot
This robot was used for training on how to navigate a robot. Move forward x inches. Turn a certain number of degrees. etc. etc.

Download Model
Building Instructions in HTML
Training Robot 22: TinyBot
This robot was used for training on how to navigate a robot. Move forward x inches. Turn a certain number of degrees. etc. etc.

Download Model
Building Instructions in HTML
Training Robot 23: SkidBot
This robot was used for training on how to navigate a robot. Move forward x inches. Turn a certain number of degrees. etc. etc.

Download Model
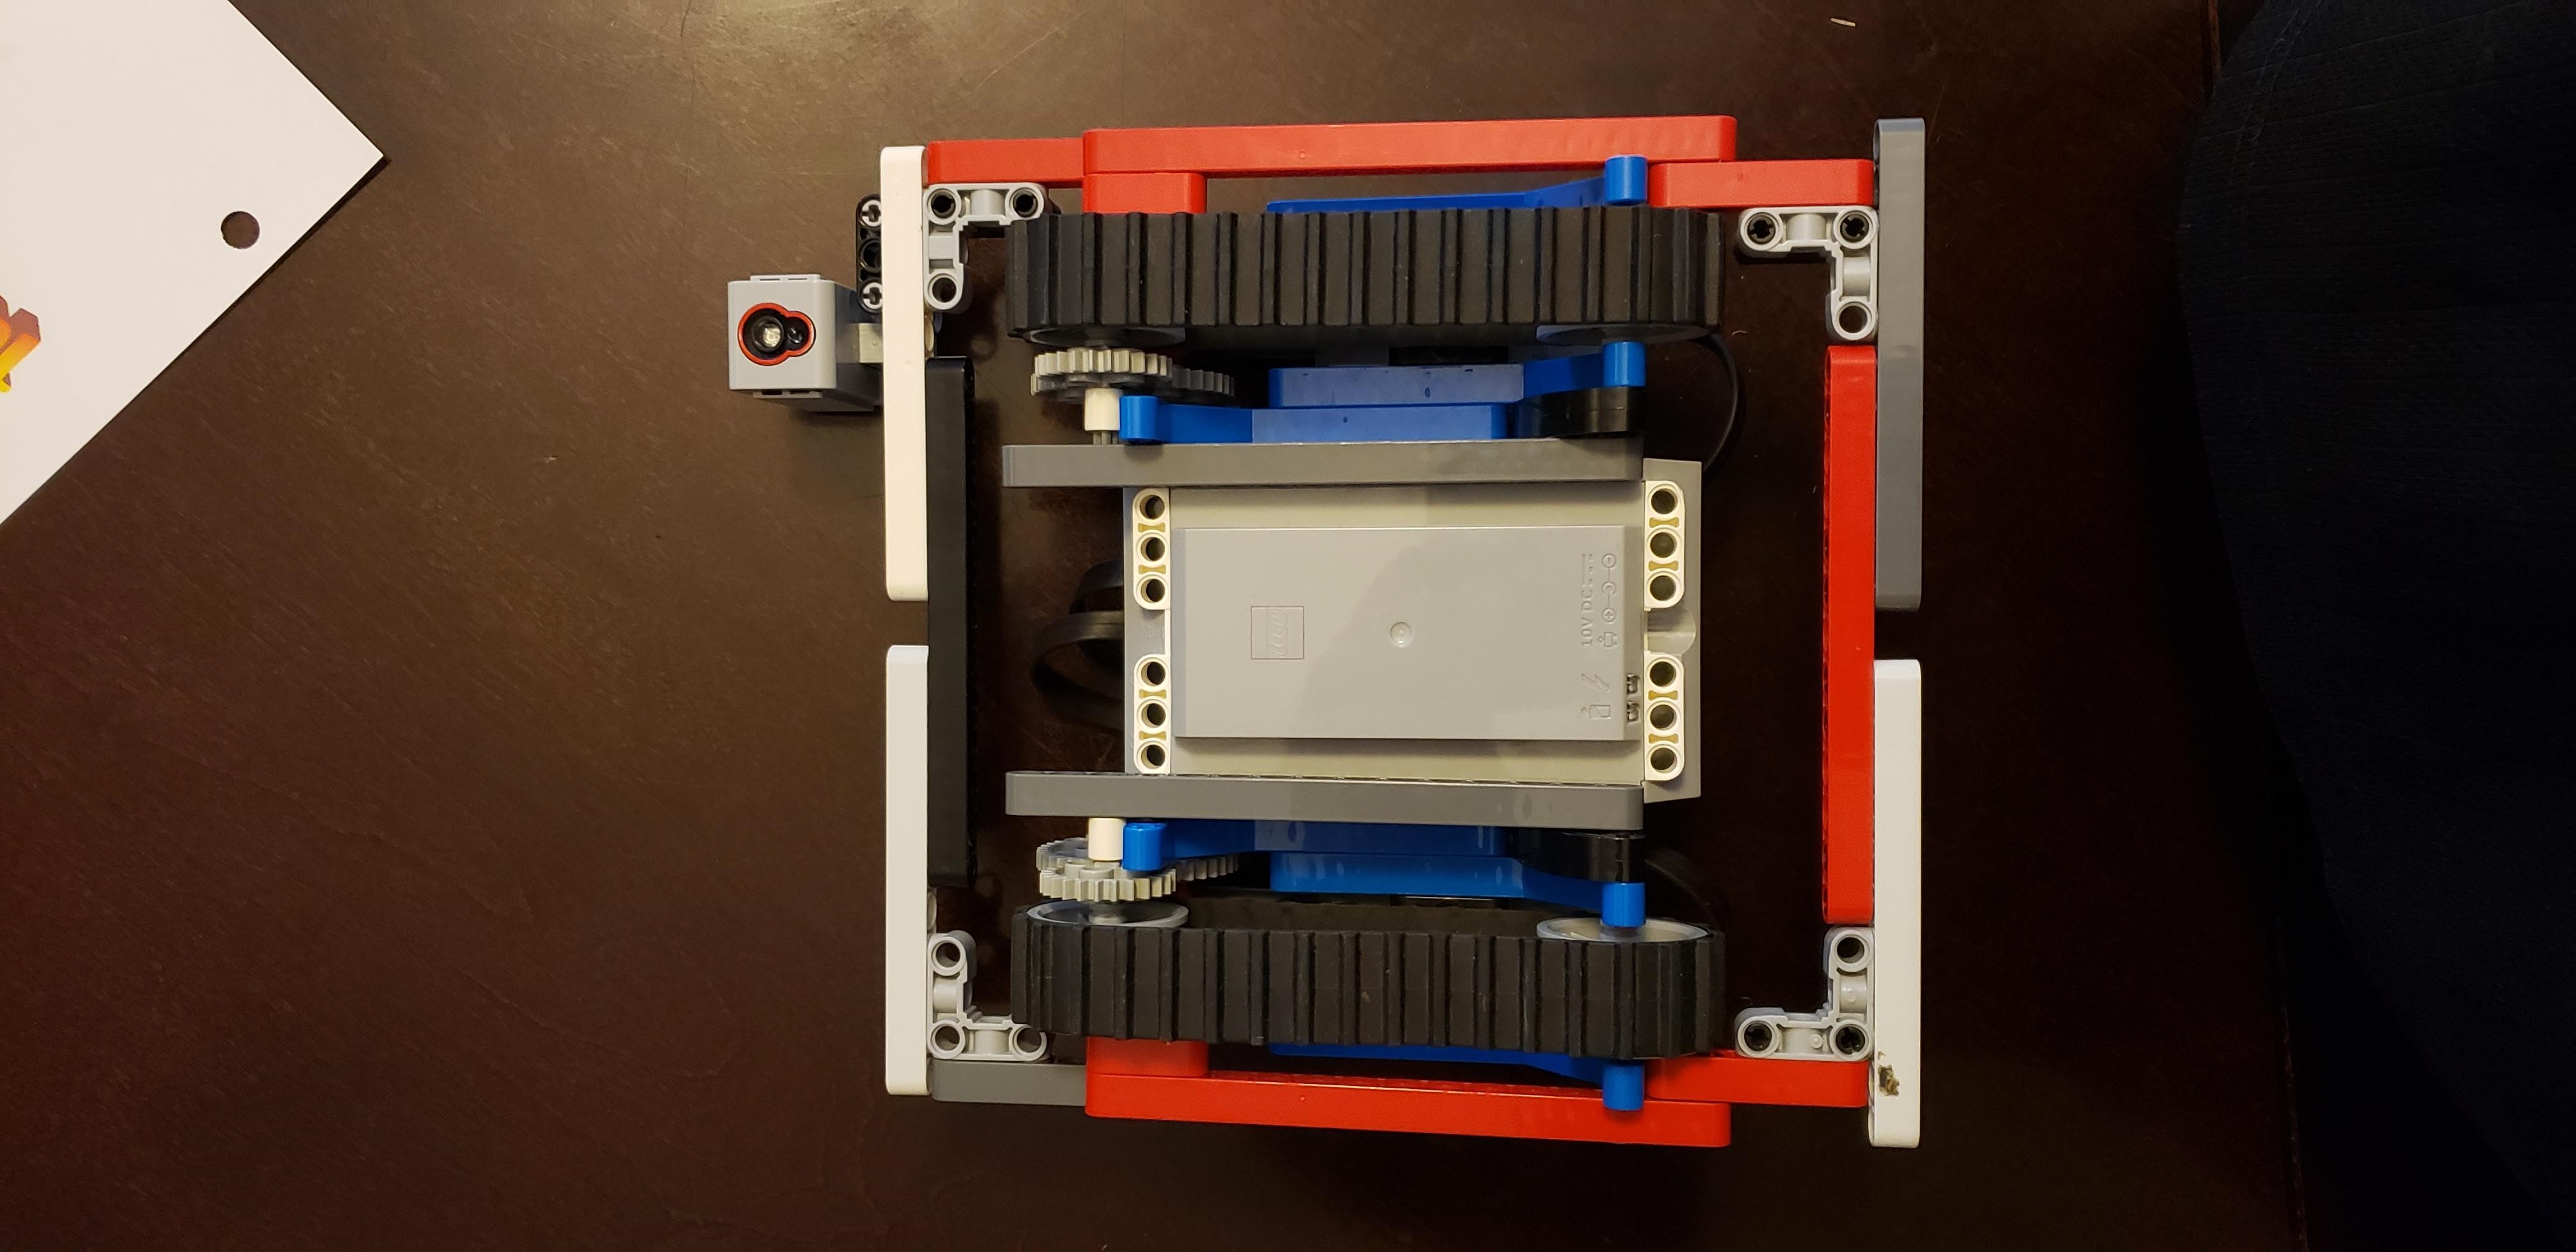
Training Robot 24: Middle NXT Mount
This robot was used for training on how to navigate a robot. Move forward x inches. Turn a certain number of degrees. etc. etc.

Download Model
Building Instructions in HTML
Training Robot 25: Middle NXT Mount
This robot was used for training on how to navigate a robot. Move forward x inches. Turn a certain number of degrees. etc. etc.

Download Model
Building Instructions in HTML
Training Robot 26: Sumo Bot

Download Model
Building Instructions in HTML
Training Robots

Building Instructions in PDF
Training Robot 1: Sideways Ev3 Mount 1 (2-wheel drive)
This robot was used for training on how to navigate a robot. Move forward x inches. Turn a certain number of degrees. etc. etc.

Download Model
Building Instructions in HTML
Training Robot 2: TankBot Ev3
This robot was used for training on how to navigate a robot. Move forward x inches. Turn a certain number of degrees. etc. etc.

Download Model
Building Instructions in HTML
Training Robot 3: Square Bot 1
This robot was used for training on how to navigate a robot. Move forward x inches. Turn a certain number of degrees. etc. etc.

Download LDD Model
Download LDraw Model
Building Instructions in HTML
Building Instructions in PDF
Training Robot 4: Square Bot 2
This robot was used for training on how to navigate a robot. Move forward x inches. Turn a certain number of degrees. etc. etc.
Compact Bot 04
Download Model
Building Instructions in HTML
Compact Bot 06

Download Model
Building Instructions in HTML
Square Bot 4 (2020)


Build Instructions for Fall 2020
Complete Build Instructions (in PDF) ( /models/SquareBot4_BuildInstructions.pdf )
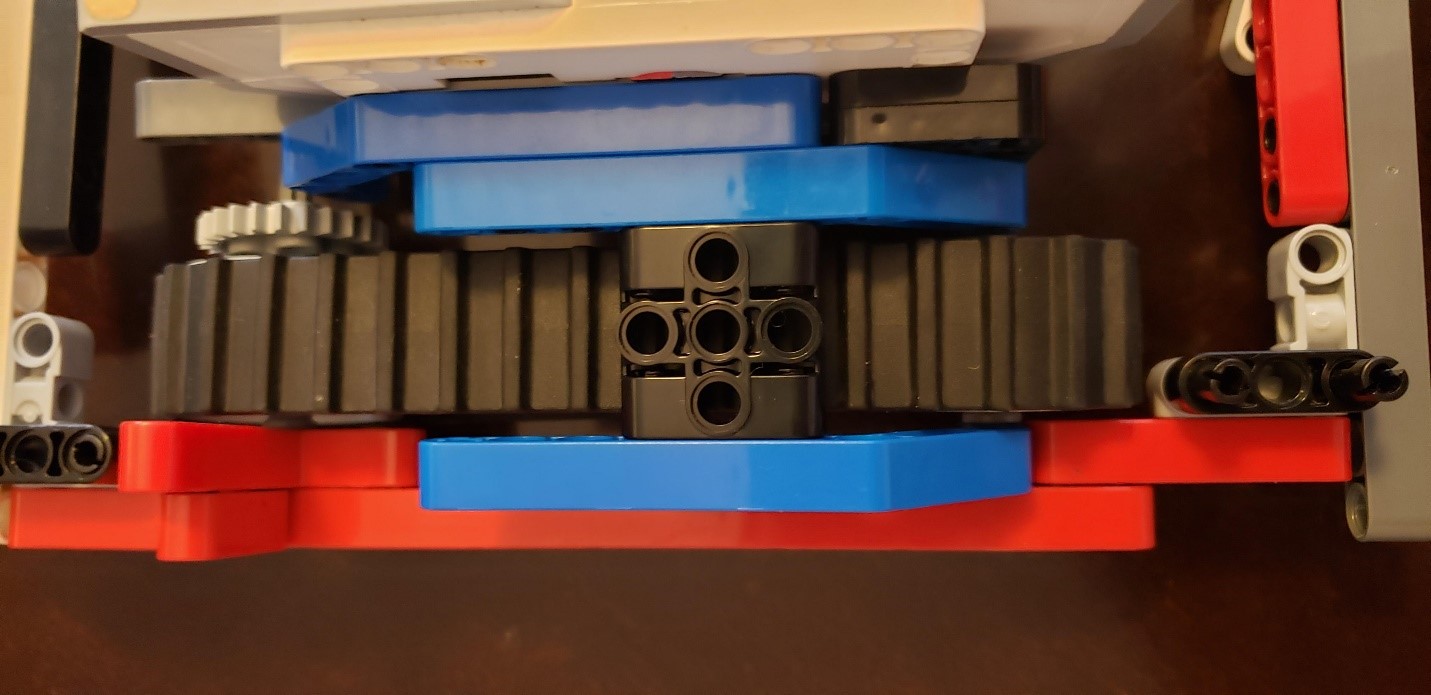
Please note that Step 7 (page 7) and Step 6 (page 23) require the use of the square 3x3 connector block. (see above pictures). Also for the wheel that drives the tank treads, use the wide grey wheel (see above pictures)

MH Attachment ( /models/MH_Attachment.pdf )
MH Attachment


Грузовичок Почтовичок. Прикольный Интересный Мультфильм для малышей.

Максим Колесников ![]()
запись закреплена

Максим Колесников ![]()
запись закреплена
Максим Колесников ![]()
запись закреплена
Модели для сборки, из реального конструктора. Что то уже собрано, а что то еще нет. ПС: Розовые детали, в реальности не розовые))
Мария Удальцова запись закреплена
Максим Колесников ![]()
запись закреплена
![LEGO Club [Модели Лего LEGO Digital Designer]](https://sun1-90.userapi.com/s/v1/ig2/n-6W3QjC82MvgG4wn_9ugW5MwPX-Q-GmgG-mWiwPNjrLlm4leIBah6xVrpF6K-FnEDmxcqyiFLaUCXQx3Td7KFUr.jpg)
LEGO Club [Модели Лего LEGO Digital Designer] запись закреплена
А ты хорош (вместо LDD скачай Studio 2.0) Я тоже LDD сначала пользовался а потом про студию узнал

Народ, LDD при запуске всегда сообщает что нет интернет соединения, версия 4.3.12. Насколько понимаю, именно поэтому многих деталей нет, не может подтянуть базы по сети. Офлайн база весьма скудная. Можно как то расширить базу?
Владимир, а где взять 4.3.11? на ЛЕГО доступна только 4.3.12. С левый сайтов качать не хочется, дабы не подцепить какую нить заразу.


Владимир, можете прислать этот файл если не сложно? 11 версия не ставится на комп по причине отсутствия adobe flash player (хотя на компе он есть хз почему прога не ставится)

Всем добрый день!
Подскажите, пожалуйста, в какой программе делать инструкции к собственным моделям на Lego Wedo 1 и Lego Wedo 2? В LDD нет датчиков и мотора Wedo:(


Александр,
я немного не понял а почему их много, подскажитед пожалуйста, сейчас в папке дизайнера только один
Максим, Это один большой файл, разбитый архиватором на 6 частей. Просто в ВК ограничение по 200 мег на файл. Распакуй первый, а остальные сами прицепятся.


Владислав, всё просто. Распаковываешь куда нибудь Assets.lif и тащишь с заменой по пути C:\Program Files (x86)\LEGO Company\LEGO Digital Designer и вуаля

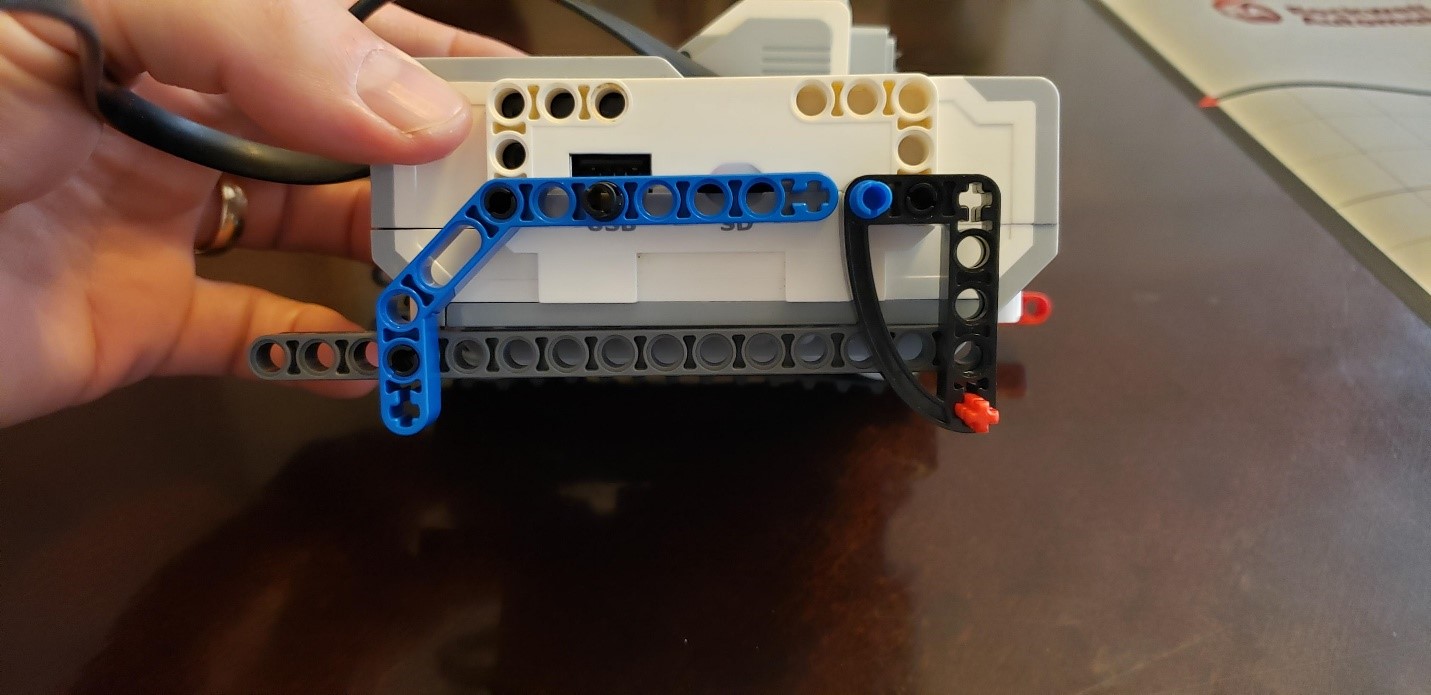
Доброго дня. Нужна помощь. на первой картинке (в живую) деталь установлена. Как это сделать в программе? На второй картинке деталь(синяя стрелка) установить на место(красная стрелка).
Хотела воспользоваться совмещением. Не получается. Может кто подскажет как вообще этим совмещением пользоваться.
В инструкции написано: "Совмещение. С помощью него можно не подбирая углы наклона совмещать детали. Сначала щелкните по детали ведомой (которая будет двигаться), а потом по ведущей (которая будет неподвижна). Далее программа сама все сделает."
не делает :-((((( ПОМОГИТЕ, ПЛИЗ

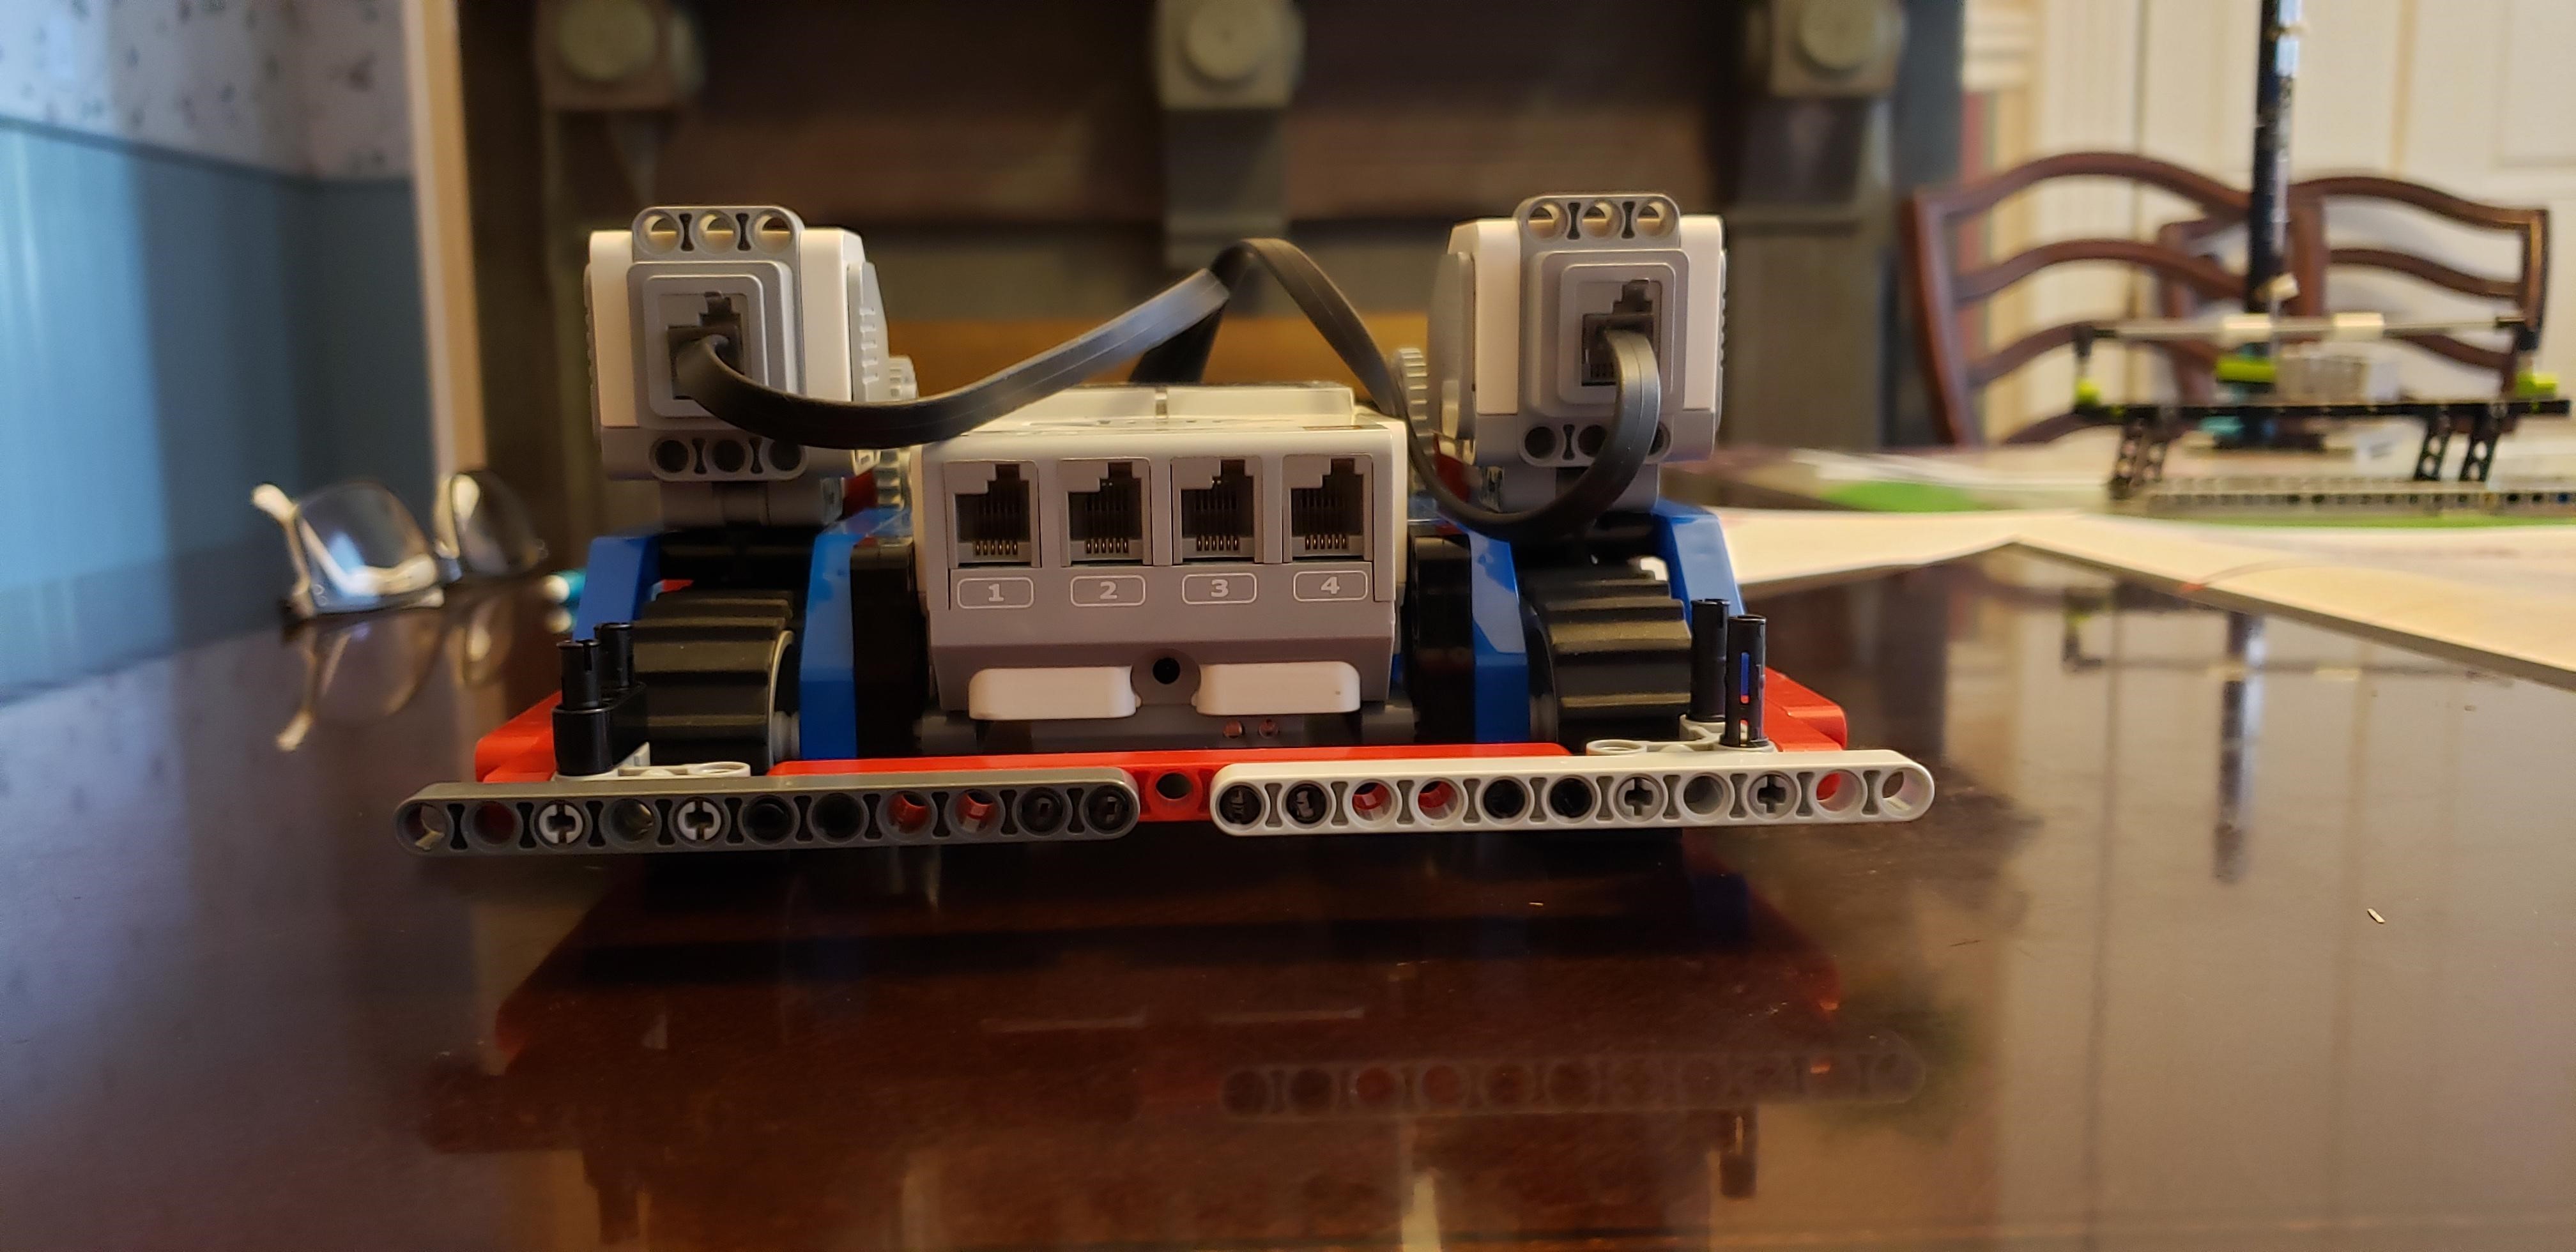
To open .lxf flies, download LEGO Digital Designer (LDD). EV3Lessons does not take responsibility for the quality of build instructions provided. If you use any of these designs as a base for a competition or in a class, you need to cite the source.

This is replacement for DroidBot 1.0. It has all the features of 1.0 and then a few more.
DroidBot 2.0 is a robot build using only parts from 45544 LEGO® MINDSTORMS® Education EV3 Core Set + 1 color sensor. There is also an optional handle that can be added when the robots are used in camps or classrooms.
Designed by: Sanjay and Arvind Seshan

This is a base robot built with one EV3 Education Core Set (45544). This robot can be used as a learning tool as well as a basic design for FIRST LEGO League.
Designed by: Michael Buss Anderson

Droid Bot JR is a robot build using only parts from 31313 LEGO® MINDSTORMS® EV3 Set. This build is slightly smaller than Droid Bot 2.0, but still has many similar features. An optional handle allows for easy carrying in classrooms. It has been designed to allow the builder to easily replace the infrared sensor with the ultrasonic, use a rechargeable battery, and add a gyro sensor if needed.
Designed by: Sanjay and Arvind Seshan

This is a base robot built with one EV3 Retail Set (31313). This robot can be used as a learning tool.
Designed by: Markus Böge, Team SAPfinity

Designed by: Sanjay and Arvind Seshan

Endeavour is a basic robot build using only one 45544 LEGO® MINDSTORMS® Education EV3 Core Set.
Designed by: Sanjay and Arvind Seshan

EV3 Discovery is a robot built using parts from the 45544 LEGO® MINDSTORMS® EV3 Set. Sensor and motor modules easily snap on to the base robot as the student needs. (The robot has optional instructions for adding a second color sensor.)
Designed by: Sanjay and Arvind Seshan

Compact Bot is a basic robot build using the 45544 LEGO® MINDSTORMS® Education EV3 Core Set + 1 motor. It has a back bumper for aligning (straightening the robot by bumping into walls and objects) and a third large motor for attachments. There are a few variations on the build available on this site.
Designed by: Brian Wheeler, Hoosier Girlz

This new NXT robot design is compact and very sturdy - ideal for classroom usage. It has been designed for use in our lessons and also works well on our Training Mats. We name it Cyberbot because of its distinctive handle which makes it look like a Cyberman from Dr. Who. The robot features a shielded color sensor as well as modular/easy to add sensors and a third motor.
Designed by: Sanjay and Arvind Seshan
This is a base robot similar to the one available in the Educational EV3 set (45544), but constructed with parts available in the NXT set.

This is great starting robot design that uses the NXT. It features an outer wall as well as two touch sensors. This robot can also line follow.
Designed by: Tim, Team Cassapeia

This is a base robot similar to the one available in the Educational EV3 set (45544), but constructed with the NXT.
This is a simple, quick-build design that can be built easily by students in a camp.
Designed by: Sam Last

This is a basic robot using the NXT that is good for classrooms. Since the brick is low to the ground, this design is a very stable build. The design incorporates all the basic sensors needed for classroom activities.
Designed by: Dr. Damien Kee.

This LEGO MINDTORMS EV3 Sumo Bot uses three EV3 Large Motors, two of which have “triple torque” due to gearing. In the false-colored picture, the pink 12-tooth gear that is directly connected to the EV3 Large Motor touches the turquoise 36-tooth gear. This “gearing down” increases its torque three times, for increased pushing power. The center motor operates the yellow “flipper” arms for upending opposing robots in a Lego Sumo or Battlebot competition. Parts from the EV3 45544 Education Set are supplemented by the third motor and EV3 Color Sensor (for detecting the edge of a Lego Sumo arena). You can use your spare parts to make the flipper larger; with it in the “up” position, it measures ~7”x7” (~22x22 studs). The EV3 Ultrasonic Sensor detects the opposing robot, or it can be replaced by a Mindsensors “Sumo Eyes” sensor for SuGObot competitions.
Designed by: David Luders

This is an EV3 Sumo Bot design by Mr. Phil. It uses Mindsensor’s SumoEyes. It is shared here with his permission. For more information on this design as well as lots of resources and documentation on the SuGO competitions visit the GEARS website devoted to SuGO .
Designed by: Phil Malone, GEARS

SamBot is an EV3 Sumobot design by Anderson Harayashiki Moreira. It features two ultrasonic sensors and a ramp made of LEGO Brick Separators.
Designed by: Anderson Harayashiki Moreira

This is a four-wheel drive LEGO MINDSTORMS NXT Sumo Bot.
Designed by:Sam Last

This Sumo Bot can be built using the LEGO Mindstorms EV3 31313 retail set’s parts. It features a front flipper, wide rubber tires for good traction, and the EV3 Infrared Sensor for manual operation via the EV3 Remote Control. Download the “Custom Remote” .ev3 project file for Remote Control operation. The EV3 Color Sensor allows for the robot to back up when “seeing” the perimeter line around the Lego Sumo ring. As an option, the pair of red 2L Technic Axles allow for mounting the Mindsensors “Sumo Eyes” to run the SuGObot program.
Designed by: David Luders
These designs are contributed by the community. While they are not designed to go with our lessons, we believe that you will be able to learn some new building and programming skills through these projects. If you wish to contribute a design to this page, please contact us.

This is a quadcopter model for teaching Physics with Edu Core set plus extra motors.
Читайте также: